What it’s for
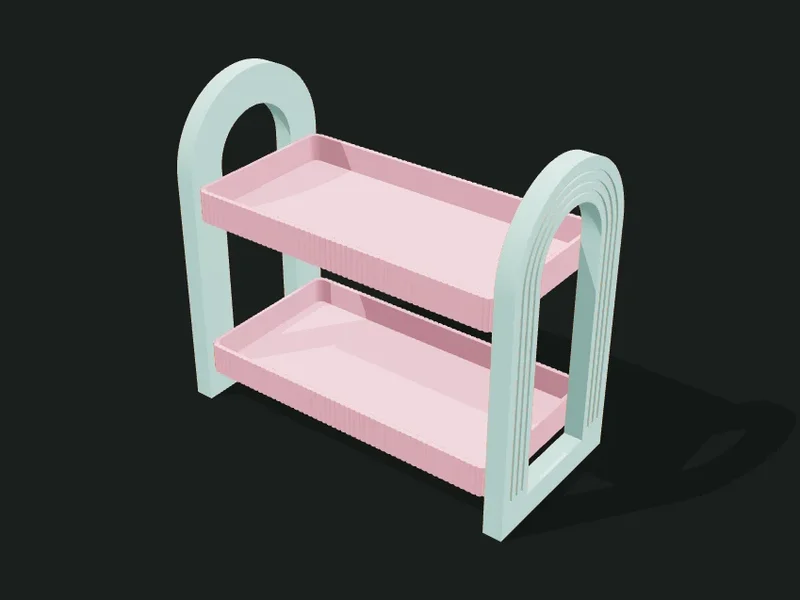
A tabletop shelf made of two arch-shaped sides and one or more trays that go between them. Each tray has pegs at the ends that fit into holes in the arches, so it assembles without screws or glue. The arches can have decorative grooves that follow their curve.
Ideas
- Bathroom shelf for perfumes, creams and makeup.
- Display for figures, small plants or candles.
- Spice organizer on two or three levels.
- Desk shelf for notes, charger and headphones.
Step by step
- Choose a preset: «Two levels», «Three tall levels» or «One level for perfumes».
- In «Shelf» set the length and depth of the trays, the total height, how many levels and the height of the first one.
- In «Side arches» adjust the thickness and width of the frame, the bottom crossbar and the decorative grooves.
- In «Trays» choose the rim height, the rounding and the joint (peg length and clearance).
- Check «On the bed» how the parts are laid out and export: each arch and each tray comes out separately.
Tips
- To assemble, fit the pegs of all the trays into one arch and then close with the other.
- If the pegs are too tight, raise the clearance to 0.3–0.35 mm; if they wobble, lower it.
- The arch prints lying down, so the total height can be as big as your bed.
- A wider frame (20–25 mm) makes the shelf more stable if you’ll put heavy jars on it.
Presets
Parameters
Shelf
Overall size, how many levels and at what height they start.
Length of each tray, from arch to arch (X axis). It’s the usable width of the shelf.
Depth of the shelf (Y axis). It also sets the width of each arch.
Total height of the shelf, up to the top of the arch.
Number of trays (levels). They’re spread over the height available under the arch.
Height of the first tray (the bottom one), measured from the table. Higher lets the bottom crossbar show.
Side arches
The two arch-shaped sides: their thickness, the frame and the decorative grooves.
Thickness of each arch (its side dimension). 8–12 mm is sturdy and leaves room for the peg holes.
Width of the arch frame, that is, the material around the opening. Wider is stronger and looks more solid.
Height of the crossbar that joins the arch’s two legs at the bottom. 0 leaves the arch open at the bottom, like an upside-down U.
Number of decorative grooves that follow the arch’s curve on the outer face. 0 leaves it smooth.
Width of each decorative groove. 1.2–2 mm looks neat without being too strong.
Depth of each groove. 0.8–1.2 mm shows well without weakening the arch.
Trays
The trays on each level and how they fit into the arches.
Height of the trays’ rim. A 12–20 mm rim keeps things from falling off.
Rounding of the trays’ corners seen from above.
Thickness of the trays’ walls. 2 mm is sturdy.
Thickness of the trays’ floor. 2 mm is enough; raise it for long trays carrying weight.
Length of the tray pegs that go into the arches. 4–6 mm locks firmly; it can’t exceed the arch thickness.
Play between the pegs and their holes. 0.2–0.3 mm stays firm without glue.
Outer texture
Decorative relief on the outer walls. It doesn’t change the inside sizes.
Relief on the outer walls. The texture is added outward: the inside and the wall thickness don’t change, so inserts and usable sizes stay the same. «Ribs» and «Flutes» are vertical, «Rings» horizontal, «Waves» helical and «Knurl» a diamond pattern that gives grip.
How far the texture sticks out (mm). 0.6–1 mm shows well without overdoing it; more than 2 mm adds a lot of material and print time.
Spacing between ribs, flutes or waves measured around the part. Small values give fine striping; large ones, bold. It should be at least 3 times the relief.
Vertical spacing between rings, waves or knurl diamonds. With 0.2 mm layers, less than 2 mm looks stepped.