What it’s for
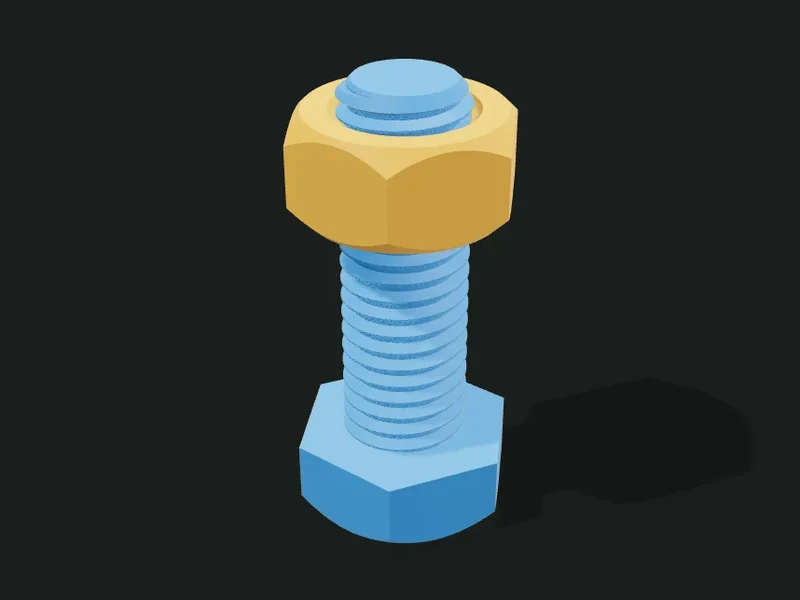
Printable bolts and nuts with a real helical thread. The thread can be ISO metric (compatible with metal nuts and bolts of the same size) or a 45° profile designed to print better. It includes a test kit: several short nuts with different clearances to find the one that suits your printer before printing the big part.
Ideas
- Replace a lost bolt from a piece of furniture or a toy (M6–M12).
- Knobs and wing nuts to tighten by hand (tripods, clamps, jigs).
- Screw-on lids, rods and joints for large printed parts.
- Teach or test threads: big sizes (M20–M30) you can see and touch.
Step by step
- Choose a preset. If you’ve never printed threads with your printer, start with «M10 clearance kit».
- Print the kit, test which nut turns smoothly (each one has its clearance engraved and 1 to 4 notches) and write down that value.
- In «Thread» choose the size and profile, and put the value you found in «Nut clearance».
- In «Screw» choose the head, the length and how it prints.
- In «Nut» choose the type and height, and whether you want a washer.
- Export. Bolt, nut and washer come out as separate parts.
Tips
- To thread into metal nuts or bolts, use the ISO profile; for plastic on plastic, the 45° profile is stronger and prints better.
- Bolts printed standing up break easily between layers if you push them sideways; «Lying down with flat faces» is much stronger.
- Below M6 a printed thread is unreliable; use metal for small bolts.
- If the nut is stiff, raise the clearance in 0.05 mm steps; if it wobbles, lower it.
Presets
Parameters
Thread
The size and shape of the thread, and the clearance between bolt and nut.
Metric thread size. M10 is a 10 mm diameter bolt with its standard pitch. «Custom» lets you set any diameter and pitch.
Outer diameter of the thread, only with a custom size.
Distance from one thread crest to the next, only with a custom size. Larger pitches print better but grip less.
«ISO 60°» is the standard profile of metric bolts: it threads with metal parts. «90° / 45° flanks» has deeper threads that print without overhangs: better for plastic on plastic.
Play between the bolt’s thread and the nut’s, measured on the radius. It depends on your printer: 0.2–0.3 mm is usual. Use the test kit to find your value.
Makes a left-hand thread: it tightens turning to the left. Useful for rotating parts that could come loose (pedals, axles).
Screw
The head, the length and how the bolt prints.
Includes the bolt. Turn it off if you only want the nut or the kit.
Head shape: hexagonal (tightened with a wrench), Allen socket cap or countersunk (with an Allen key), knurled knob or wing (tightened by hand), or headless (threaded rod).
Length of the bolt not counting the head.
Threads the whole length. Turn it off to leave a plain shank under the head, like furniture bolts.
Length of the threaded part, from the tip, when it isn’t fully threaded.
«Standing, head down» is the simplest to print. «Lying down with flat faces» cuts two flat faces on the sides to print it lying down: the layers run along the bolt and it takes much more force.
Nut
Nut type, washer and clearance test kit.
Nut type: hexagonal, square, knurled knob, wing, cap nut (closed, so the bolt tip doesn’t show) or no nut.
Nut height as a proportion of the diameter. 0.8 is standard; taller grips more threads and takes more force.
Adds a flat washer sized for that bolt.
Generates 4 short nuts with clearances around the chosen one. Each one has its clearance engraved and 1 to 4 notches to recognize it. Try them on the bolt and keep the one that turns smoothly without wobbling.
Clearance difference between one kit nut and the next. 0.10 mm covers a wide range; once you roughly know your value, 0.05 mm fine-tunes it.